How To Lace Hiking Boots In One Minute Or Less
It is easy to overlook how to lace your hiking boots, many of us are learned the double knot for safety then forget about learning anything more. Did you know there are special ways to lace and tie your hiking boots that can prevent specific types of injuries? Customizing your boot laces is crucial for different lacing techniques, ensuring the right shape and length when replacing worn-out laces.
Various lacing techniques can prevent injuries and enhance comfort by addressing common foot issues like heel slippage and discomfort while in your hiking boots. Many of these lacing methods are well known and can be done in less than a minute. What is a minute compared to being laid up for weeks following a hiking injury?
Some of these techniques are already established in other industries. For 15+ years I have been using and teaching these techniques to my listeners. For example, using a surgeon’s knot can help reduce heel slipping while hiking. Before learning how to lace your hiking boots, we recommend 5 Essential Tips for Choosing Outdoor Footwear
See Our Full Youtube Video OR Read Below
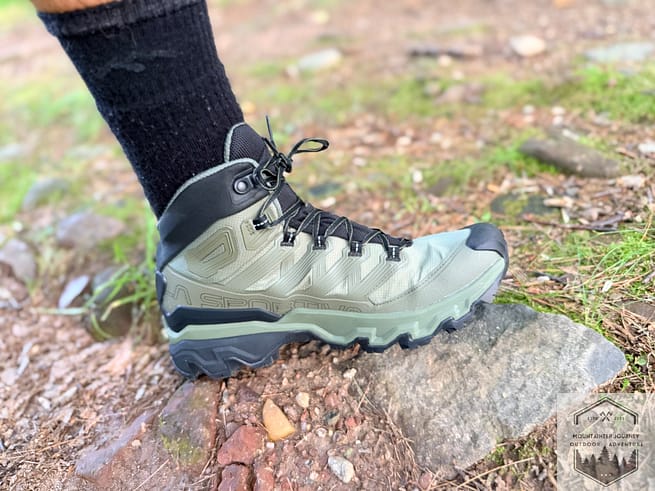
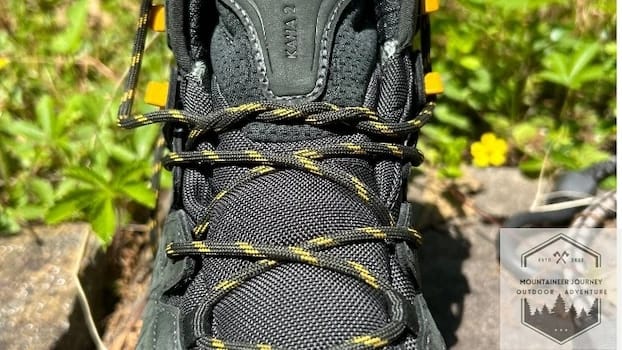
For many, but not all, the most popular boot lacing method—crisscrossing, lacing up the hooks on your boot, and making a bow knot at the top—works effectively. Correct lacing runs from the toe to the top of the boot or shoe, taut but not overly so. The lacing should make even, strong contact with the boot and be free of loose thread.
A few months ago I was hiking with a friend and she began to feel numbness at the top of her foot while hiking. I was easily able to inspect that she had too much pressure at the top of her foot while hiking, she was unable to enjoy the outdoors simply due to a shoe that was too tight!
I was able to teach her the “Window Lacing” method, and bam! She was able to enjoy the hike without thinking about how much her foot was bothering her for once!
The Surgeons Knot
The surgeons knot is used to prevent your heel from slipping while hiking. This is usually to a bigger-than expected hiking boot. But that’s okay! You can make up for it with a surgeons knot. Another effective method to prevent heel slippage is the heel lock technique. My foot sizes actually vary from ½ a size, so I end up doing a surgeons knot for one of my hiking boots only.

How To Tie The Surgeon’s Knot
- Start with your laces at the bottom of the shoe
- Use the crisscross method until you reach the point of the shoe where the top of your foot is too loose which causes slipping
- To perform a surgeons knot, TWIST the laces around each other between the hooks
- Then lace around hook as normal, repeat part 3 as many times as needed. Heel lock lacing, which involves creating a runner’s loop using the extra eyelets, can also enhance fit and stability, ensuring a snug feel around the heel area.
TIP: cinch down your lace tight after the surgeons knot this will tighten it. Cinch down the knot by pulling in opposite directions with both hands
The Overhand knot
This is one step below the surgeons knot for your hiking boots. This will prevent slippage without having the unnecessary tension a surgeons knot would have.
One disadvantage of the surgeons knot is it may gave unnecessary tension on the top of the foot, constricting you while hiking. Another method to secure the laces and prevent heel slippage is lock lacing, which involves creating a runner’s loop using extra eyelets for a snugger fit.

How To Tie The Overhand Knot
- Start with your laces at the bottom of the shoe
- Use the crisscross method until you reach the point of the shoe where the top of your foot is too loose which causes slipping
- To perform the overhand knot, TWIST the laces around each-other ONCE.
- Repeat step 3 as many times as needed
How To Lace Hiking Boots For High Arches: Window Lacing Method
Window lacing is a lacing technique that can be used to relieve pressure off the top of your foot when it is too snug at the top. This will prevent chafing and blister formation on the top of your foot, which can be a pain to deal with. This can also be called the “box lacing” method. This technique is also beneficial for people with high arches.

How To Tie Hiking Boots With Window Lacing Method
- Do the normal criss-cross pattern starting at the bottom of the boot
- Instead of crossing the laces over the boot, go up to the next hook above
- Repeat step 2 one more time above as needed
- Finish lacing by doing the criss-cross pattern until at the top
Toe Relief Lacing
This technique is used to relief pressure off the top of your toes in your hiking boots. Toe relief lacing helps alleviate pressure in the toe box, ensuring a more comfortable fit.
Very simply, you will unlace our shoes entirely. Then start on the second set of hooks when starting to lace up. Completely skip the first set of rungs, this will take pressure off the beginning of your toes.

How To Lace For Wide Feet Bar Lacing
Bar lacing may be used for people with wide feet with narrow fitting hiking boots. Going down a size to reduce the shoe size will cause a lot of pressure and numbness in the foot.
Use bar lacing to relieve pressure through the whole top of the foot to increase the volume in the shoe.
How To Tie with Bar Lacing
- Go straight over the two bottom eyelets at first, from outside to inside. The lace should emerge from beneath the eyelets at both ends.
- Step directly up to the next eyelet with the appropriate lace and draw it from the inside to the outside. Then, from outside to inside, pass through the eyelet straight across to the left.
- Pull the left lace straight up, inside to outside, skipping the eyelet that the right lace is passing through. Pass through the eyelet straight across to the right, from outside to inside.
- Going straight up, skip the eyelet the left lace is passing through, and draw the right lace through the next eyelet, inside to outside. Then, from outside to inside, pass through the eyelet straight across to the left.
- Up to the top, repeat steps 3 and 4. You can easily reach the top if your eyelet pairs are even. There comes a moment at which you can’t carry on the pattern if your number is odd. When it occurs, cross the lace and pass through the next eyelet up, inside to outside. The intended clean appearance will be maintained by the cross being hardly noticeable once the shoes are fastened.
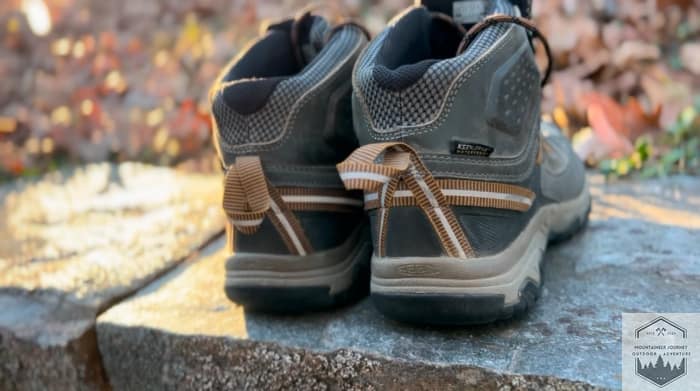
Heel Lock Lacing Technique
Heel Lock lacing is one of the lacing techniques used for people experiencing heel slip or tightness in their hiking boots. The Heel lock lacing technique also helps reduce impact on your toes and improve stability in your hiking boots.
I like to use the heel lock technique on my favorite hiking boots the Merrell Moab 3. When I pass through rough terrain I will use the heel lock lacing technique on my hiking boot as well.
How To Tie Heel Lock
- Criss cross your laces vertically until you reach the last eyelet
- Now loop each lace on the same eyelet from the outside to the inside creating a loop
- Now pull tight, this will start to lock the heel for stability
- Now tie them as you usually would
Learning proper lacing techniques for your hiking boots can be such an injury prevention tool and allow you to enjoy longer hikes.
Imagine just taking an extra minute to learn these techniques can allow you to reduce blisters, prevent numbness, and injuries. Here at Mountaineer Journey we want you to learn anything you can to enjoy the outdoors as much as possible.
Frequently Asked Questions:
How To Lace Hiking Boots For Downhill
While going downhill you are putting a lot of pressure on the top of your foot, also known as the dorsum of your foot. To relieve this pressure, we recommend the Window lacing method, as seen above.
How To lace Hiking Boots To Prevent Toe Pain
To prevent toe pain, we recommend the Toe Relief lacing method as pictured above. You want skip the skip the first set of rungs when starting your laces.
Related Articles:
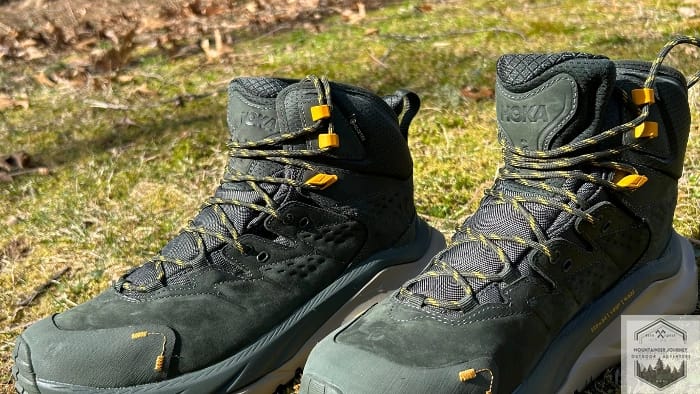
Hoka Kaha 2 GTX: The Most Underrated Hoka Hiking Boots
Adventure Awaits,
Tyler

Tyler is the founder Mountaineer Journey and a professional Mountain Guide with 15+ years of technical experience in trekking, mountaineering, and trail sports. Having logged thousands of miles from rugged alpine summits to urban paths, Tyler provides rigorous, field-tested insights on hiking, walking, and trail running gear. All reviews are 100% unsponsored and unbiased, ensuring you get honest scoring based on real-world performance. His mission is to help outdoor enthusiasts of all levels find reliable equipment that ensures comfort, safety, and performance on any terrain.